
Last updated November 15, 2026
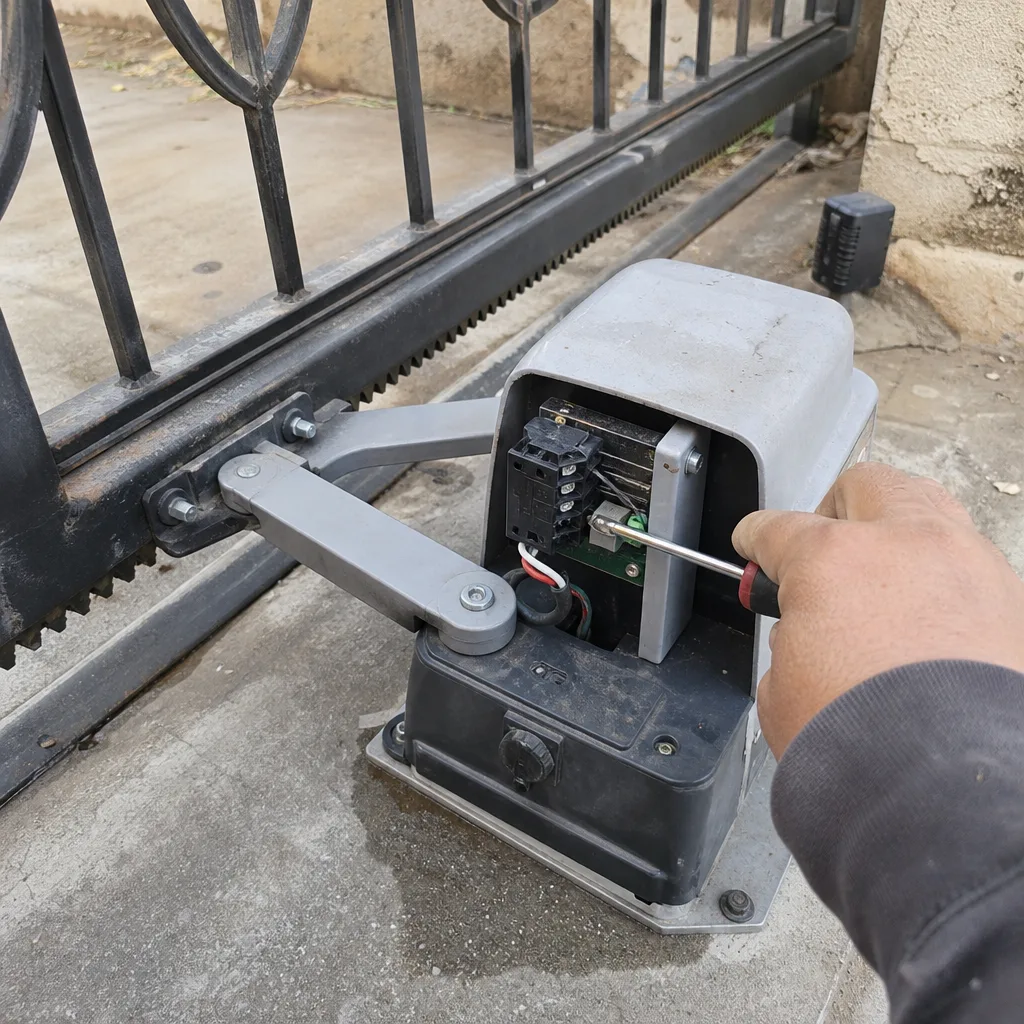
 Wrought iron
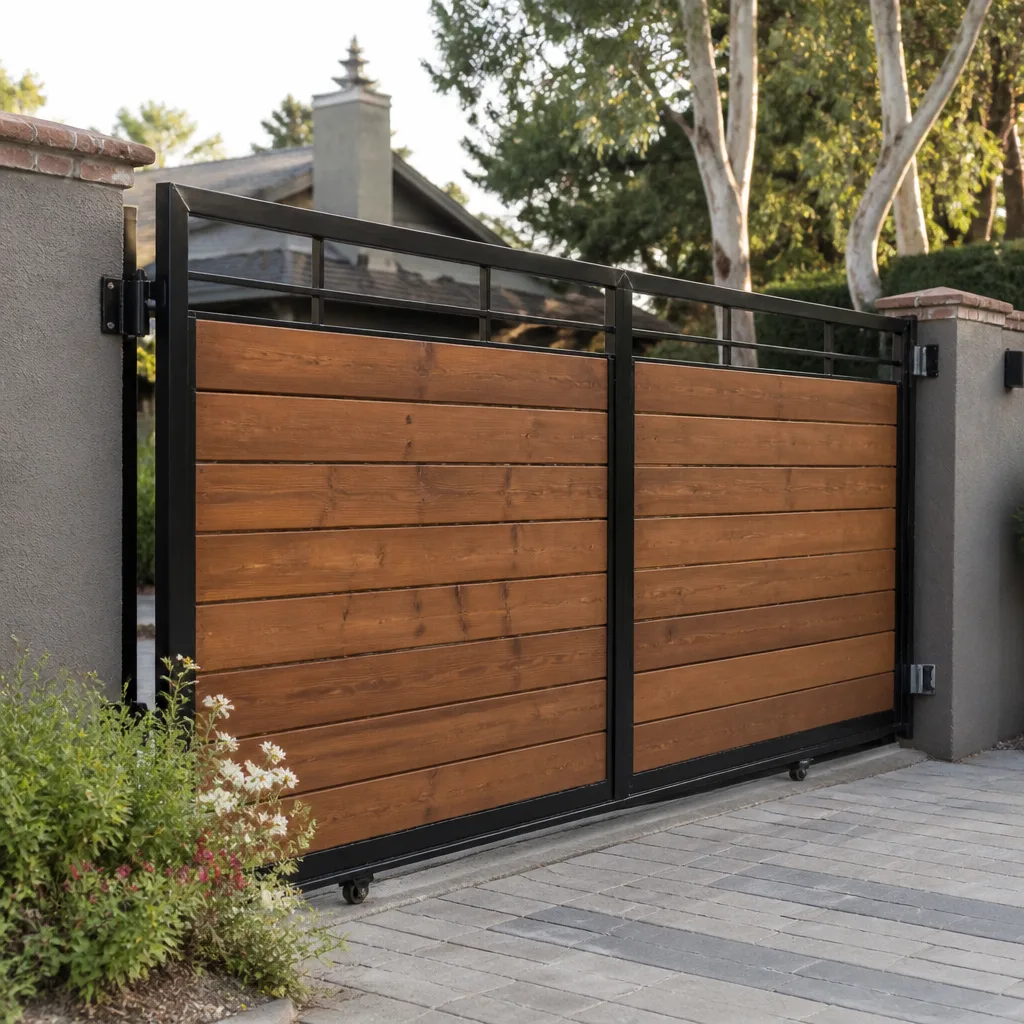 Wood & steel frame
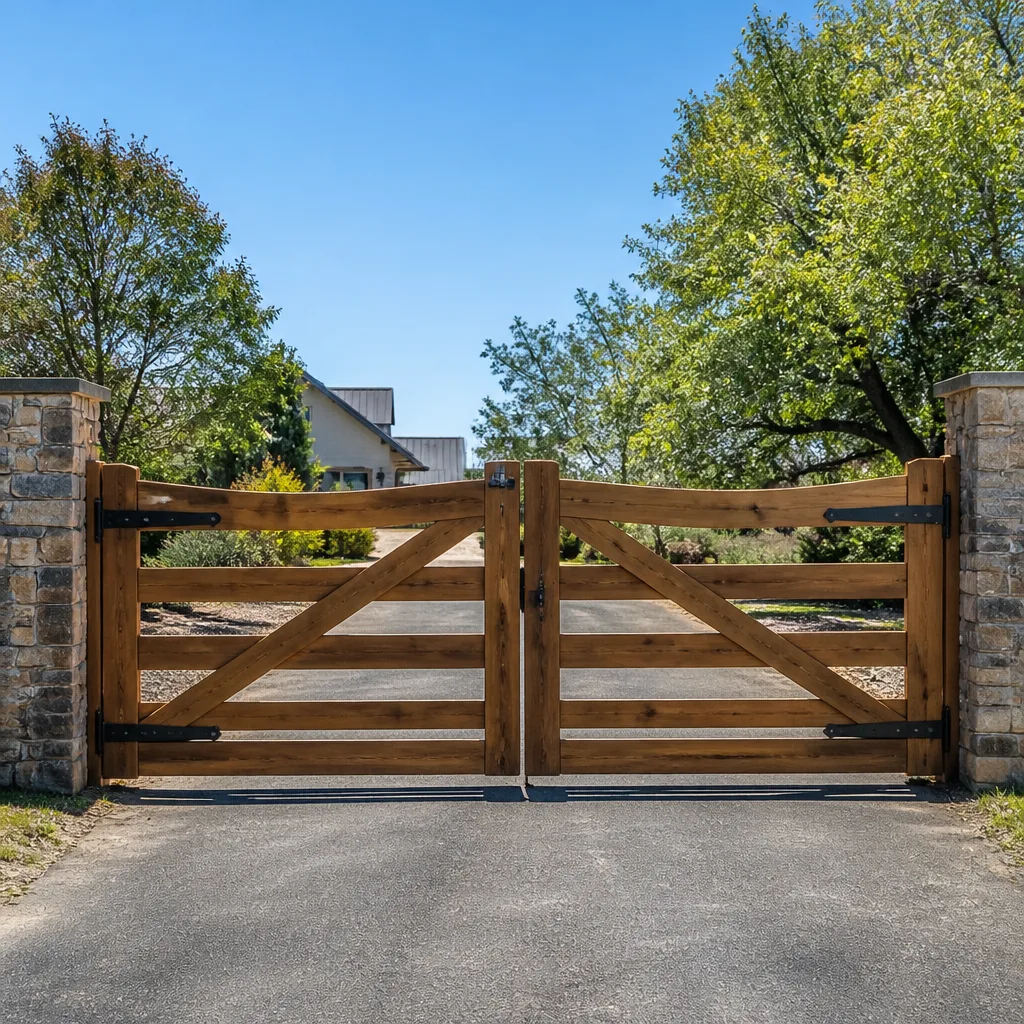 Farm & ranch
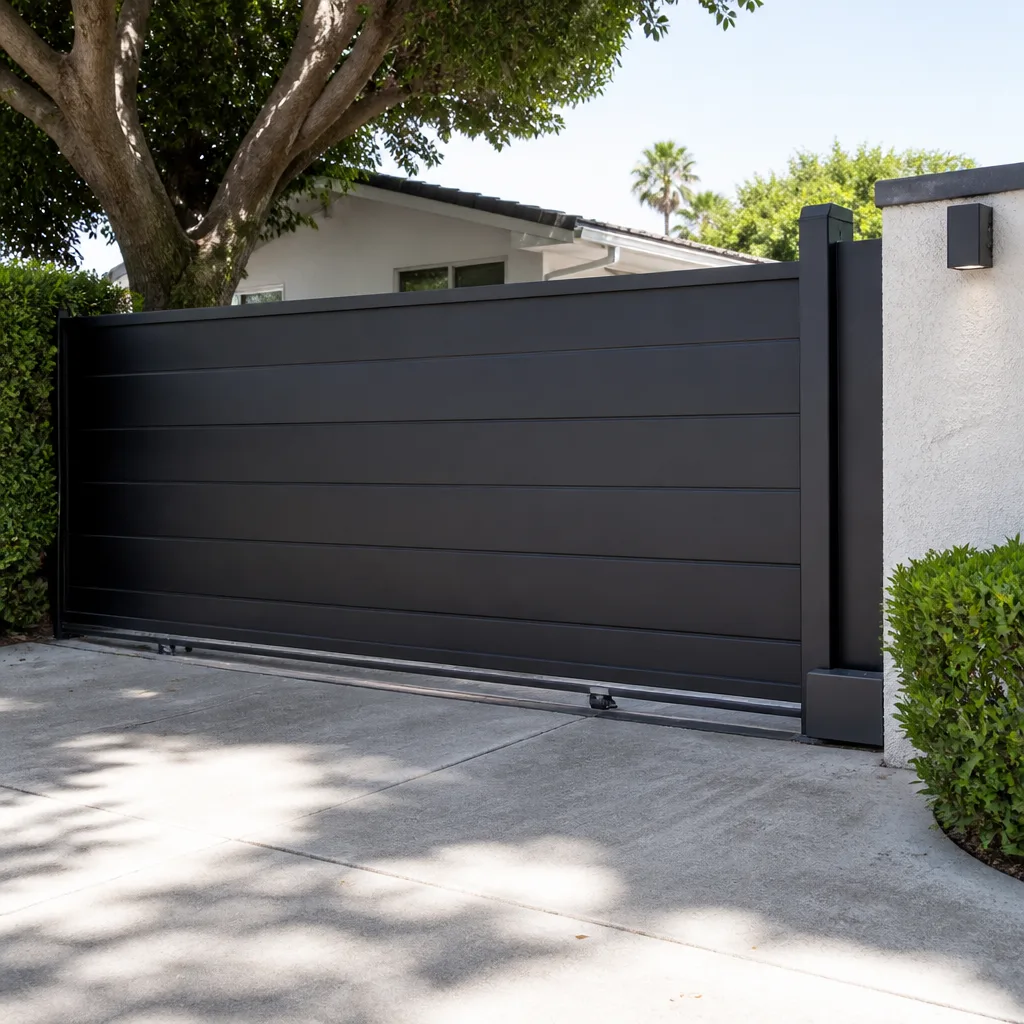 Sliding driveway gates
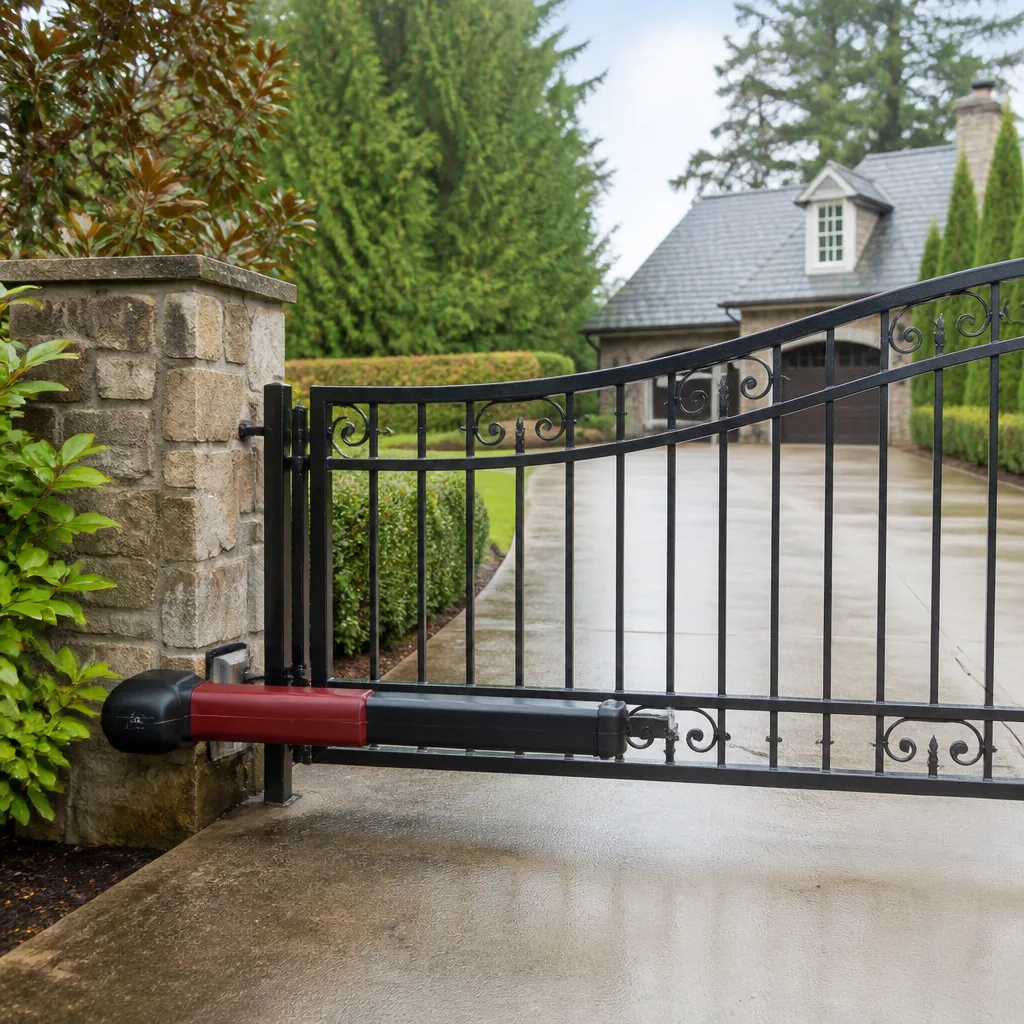 LiftMaster operators
Free on-site gate assessment - hinges, posts, and your LiftMaster or Nice gate operator checked before anything is quoted
The assessment is free and the quote is the invoice.
Get your free estimateDIY vs Professional Gate Repair: The Santa Maria Homeowner’s Decision Guide
Most gate repair tutorials on YouTube feature residential slide gates with chain drives: forgiving tolerances, simple mechanics, and a mistake usually means a stuck gate rather than a broken operator. Follow that same tutorial on a swing gate with an underground actuator, though, and you can void a costly factory warranty in under half an hour. The DIY-versus-professional question in Santa Maria isn’t really about how handy you are. It’s about which specific task is in front of you. This guide sorts the repair list into two clean halves so you know exactly which jobs belong on your weekend and which belong to a gate specialist.
Quick Answer
About half of all gate problems are genuinely DIY-safe: clearing debris from a track, adjusting a strike plate, replacing a battery in a remote, or resetting a tripped breaker. The other half – motor and control board work, safety loop diagnostics, post anchor resets, and anything involving 120V power or heavy swing panels – carries real injury, liability, or component-damage risk and is worth handing to a trained technician. If your gate involves an underground operator, a commercial brand like DoorKing, or a panel that could crush a hand, call a professional before you touch it.
Styles & brands we work with
- Wrought iron
- Wood & steel frame
- Farm & ranch
- Sliding driveway gates
- LiftMaster operators
Table of Contents
- Why DIY Gate Repair Advice Is Often Wrong for Your Specific Gate
- Task-by-Task: Which Gate Repairs Are DIY-Safe?
- The Tools Professional Gate Repair Uses That You Probably Don’t Own
- How DIY Misrepair Affects Warranties and Insurance Claims
- Three Scenarios Where Calling a Specialist First Is Cheaper
- Partial DIY: How to Prep Before the Technician Arrives
- Brand Matters: Why Mighty Mule, LiftMaster, and Elite Need Different Approaches
- What Makes Gate Repair in Santa Maria a Little Different
Why DIY Gate Repair Advice Is Often Wrong for Your Specific Gate
The gate repair content that gets the most views online has almost nothing in common with the gate in your driveway. Most videos show a chain-driven slide gate on level ground with plenty of clearance. That’s the easiest configuration in the trade. It has wide tolerances, visible moving parts, and a failure point you can usually see at a glance.
The gates we see across Santa Maria fall into a wider range. Residential swing gates with underground operators, vintage ornamental iron on a slope, HOA entry systems with intercom wiring, and commercial slide gates on DoorKing or Elite operators. Each one behaves differently when something goes wrong. A fix that lands perfectly on a chain-drive residential gate can bend a control arm, strip a gear, or scramble a control board on a swing gate running a LiftMaster operator.
The core misunderstanding is this: DIY gate repair isn’t one skill level. It’s a sliding scale. Some repairs are less involved than changing a kitchen faucet. Others carry more risk than rewiring an outlet. When you treat all gate problems as the same kind of task, you either avoid jobs you could easily handle (and overpay for a service call) or attempt jobs you shouldn’t (and pay three times as much to undo the damage).
So the useful question isn’t “Am I handy enough to fix this?” It’s “Which specific task am I about to do, and does it sit on the safe side of the line?” That’s what the rest of this guide answers.
Task-by-Task: Which Gate Repairs Are DIY-Safe?
Here’s the split we use whenever a Santa Maria homeowner calls asking whether they should try a fix themselves. If the task is in the first list, we usually tell them to go ahead. If it’s in the second, we tell them to stop and book a technician.
DIY-Safe Gate Repairs
- Clearing debris from the track: leaves, twigs, gravel, and dirt under a slide gate are the most common cause of stalling.
- Adjusting a strike plate or latch: a loose latch on a manual gate is a screwdriver and ten minutes of patience.
- Replacing a remote battery or re-pairing a remote: if you have the manual, this is a household chore.
- Resetting a tripped breaker: if the operator loses power and the panel shows a trip, a reset is fine. If it trips again, stop.
- Tightening visible hinge bolts: a sagging manual gate with loose hardware is a safe tighten-up if the gate is small and you have someone holding it steady.
- Lubricating rollers and tracks: the right lubricant, applied sparingly, is a reasonable homeowner task.
- Visual inspection of the safety edges: looking for cracks, cuts, or pinched rubber is diagnostic, not repair, and it’s useful to do.
Not DIY-Safe Gate Repairs
- Motor or actuator replacement: this is heavy equipment tied to mains power and mechanical linkage that must be aligned to the gate’s geometry.
- Control board work: boards don’t fail in obvious ways. A wrong jumper or a misidentified terminal causes damage that isn’t visible and isn’t cheap.
- Safety loop or photo-eye diagnostics: a loop detector that reads “safe” on your meter can still be failing intermittently. Fault tracing requires specialized equipment.
- Post anchor resets: a gate post that has shifted a quarter inch at the base needs engineered footing work, not shims.
- Any 120V or 220V wiring: this is a licensed electrician’s territory and a life-safety concern. Never open the operator housing to a live circuit.
- Lifting or repositioning a swing panel: a swinging iron panel can weigh hundreds of pounds and pinch on the way down.
- Access control and intercom wiring: low voltage or not, a miswired unit can fry the controller and take the whole entry system offline.
The dividing line is usually one of three things: electrical power, weight, or a diagnostic that can’t be seen with the naked eye. If any of those are in play, stop. Our gate repair team can look at it before you buy a part that turns out to be the wrong one.
Safety Note
A gate is a moving machine, and the dangerous parts on a gate are the operator’s power and wiring, heavy swing or slide panels that can crush, and slide gates that can come off the track. If a panel is binding, jumping the track, or falling under its own weight, don’t try to hold it up by hand. Get everyone clear of it and call a trained technician. That’s not a disclaimer; that’s what we’d do at our own homes.
The Tools Professional Gate Repair Uses That You Probably Don’t Own
Part of what makes the DIY-versus-pro decision easier is knowing what a proper gate repair actually involves on the tool side. A modern gate operator isn’t repaired with the toolkit most homeowners keep in the garage. Here’s what we work with on a typical electric gate job.
- Loop testers and inductive meters: you cannot properly diagnose a safety loop, photo-eye, or loop detector without them. They let us see whether a loop is intermittently failing, not just whether it’s currently triggered.
- Multimeters with true-RMS and clamp functions: for measuring amperage draw on a motor or checking control board voltages. A cheap $15 meter is fine for a light switch, not for a gate controller.
- Brand-specific diagnostic handsets and software: LiftMaster, FAAC, BFT, DoorKing, and Elite each use their own diagnostic protocols and handheld tools. This is how we pull fault codes instead of guessing.
- Torque wrenches and load-rated shackles: swing gate linkages have specific torque settings. Over-tighten and you strain the operator; under-tighten and the arm works loose.
- Post anchoring and footing equipment: a vertical post anchor isn’t a hammer drill and a concrete anchor. Getting a post plumb over a shift requires foundation work.
- Manual release tooling: every operator has a manual release that must be tested and reset correctly. The tool to do it properly is usually proprietary.
- Load-test gear for the panel: swing and slide panels need to be weighed or load-tested after repair to make sure the operator is within its rated capacity.
None of this means homeowners can’t do meaningful repairs. It means the boundary between “task” and “project” is drawn by equipment, not by willingness.
How DIY Misrepair Affects Warranties and Insurance Claims
Here’s the part most gate repair guides skip. When a gate fails after a DIY attempt, the problem is rarely just the part that broke. It’s the paper trail that follows.
Manufacturer warranties on operators like LiftMaster, Elite, and Mighty Mule are written with service conditions attached. They typically cover defects in materials and workmanship under normal installation and normal operation. An untouched operator that fails within the warranty period is a fairly straightforward claim. An operator that failed after someone opened the housing, spliced a wire, or swapped a control board is a much harder conversation. Installers will look for evidence. They know what a factory crimp looks like compared to a field splice. A warranty claim can be reduced or denied on that basis alone, and the homeowner absorbs the full cost of a replacement that would otherwise have been covered.
Insurance creates a second layer. If a gate injures a family member, a guest, or a delivery driver, the question isn’t only “what happened?” It’s “who was performing maintenance, and did they perform it in line with manufacturer instructions?” A gate that was serviced by a trained technician leaves a record. A gate serviced by the homeowner leaves a much harder story to tell. In a Santa Maria HOA, where access points can see hundreds of vehicles a day, that question scales up fast. A gate that swings into a car because someone tampered with a safety edge is not a question you want to answer without documentation.
The point isn’t to scare anyone away from touching their gate. Adjust the latch. Replace the battery. Clear the track. Those jobs are fine. But anything tied to the operator, the safety system, or the electrical circuit sits in a category where the warranty and the liability answer is “professionally performed, or not at all.”
Three Scenarios Where Calling a Specialist First Is Cheaper
We’ve helped enough Santa Maria homeowners diagnose gate problems to know which situations reliably go badly when DIY’d. These three come up over and over, and in every one of them, the first call to a gate specialist ends up being cheaper than the DIY attempt.
Scenario 1: The gate reverses mid-travel
A gate that stops and reverses before it finishes closing, or opens a few feet and then goes back, is telling you that its safety circuit is triggering. That’s a diagnostic question, not a repair. The three usual causes (a misaligned photo-eye, a failing safety edge, a bad loop) each require different tools to distinguish. When a homeowner replaces a photo-eye and the gate still reverses, the cost of the failed attempt is now added to a repair that would have been correctly diagnosed in one visit.
Scenario 2: The operator hums but the gate doesn’t move
A hum with no movement means the motor is receiving power but the gate’s mechanical link has failed. That could be a stripped gear, a seized arm, a binding track, or a blown capacitor. Forcing the gate by hand, which is often the next step a homeowner takes, is exactly how a stalled motor becomes a burned-out motor. A technician identifies the failing part with a meter and a load test and moves on. A homeowner usually replaces the wrong part first.
Scenario 3: A post appears to have shifted
A gate that has started dragging, scraping, or hitting the ground usually isn’t a gate problem at all. It’s a foundation problem, and the gate is telling you the post anchor has moved. Shimming the hinge or trimming the panel feels like a fix and buys a few weeks before it gets worse. Repairs on this scale involve resetting the post and re-aligning the operator linkage. Once that’s done properly, the gate goes back to normal. The DIY path is a losing argument with concrete.
If any of those describes what’s happening at your property, call (844) 834-0978. We answer 24/7, fast dispatch from 7am to 7pm.
Partial DIY: How to Prep Before the Technician Arrives
The best-value approach for most Santa Maria homeowners isn’t all-or-nothing. It’s a hybrid. You handle the safe diagnostic tasks and the small maintenance. We handle anything electrical, mechanical, or heavy. Doing your own prep before a technician arrives shortens the visit and, because we quote before we start, gets the estimate closer to the low end of typical ranges.
Here’s a sequence that works well for us:
- Write down what the gate is doing. Not “broken” – specific behavior. Opens halfway and reverses. Closes but doesn’t latch. Remote works from 10 feet but not 30. The more precise the description, the faster the diagnosis.
- Note the brand and any model number on the operator housing. If we know you’re running a Mighty Mule or a LiftMaster before we arrive, we can bring the right diagnostic tool and the right replacement parts.
- Check the obvious. Is the breaker tripped? Is there debris under the gate? Has anything changed physically (a car parked in the path of the safety loop, a fence post that shifted, a new paver project)? Write it down.
- Photograph the gate from three angles. Full open, full closed, and a close-up of the operator. Extra photos of the control board aren’t necessary unless we ask for them.
- Leave the gate in manual release if it’s safe to do so. If the gate is stuck and manual release is possible without lifting a heavy panel, release it so the gate can sit open. Don’t force anything.
- Clear the workspace. Cars moved out of the driveway, tools picked up, pets inside. Technicians can move 20% faster when the gate path is clear.
- Have the paperwork ready. Any prior invoice, warranty card, or installation manual you have on file. Even a photo of a receipt helps if the operator is still under warranty.
Brand Matters: Why Mighty Mule, LiftMaster, and Elite Need Different Approaches
The DIY-versus-professional line shifts depending on which brand you’re running. We work on nine gate operator brands, and each one has its own failure patterns, its own diagnostic quirks, and its own tolerance for homeowner intervention.
Mighty Mule and Ghost Controls are entry-level residential operators. They’re built for straightforward swing and slide gates, and their diagnostic processes are relatively open. Some of the basic troubleshooting is documented and can be done by a capable homeowner. That said, they still involve mains power, and the safety devices still need proper testing. DIY-safe on this tier really only means “you can read the manual and press a button,” not “you can open the board.”
LiftMaster and Elite sit in the mid-range space where many of the Santa Maria residential systems we see live. The diagnostics are more involved, the control boards are more delicate, and the brand-specific fault codes only make sense with the correct code table. When a LiftMaster LA500 reverses without an obvious cause, the fault could be the safety edge, the loop, the photo-eye, or a battery backup that’s falsely triggering. Guessing at that is how a $200 sensor swap becomes a $600 board replacement.
DoorKing and FAAC are commercial-grade. This is where the DIY conversation ends. DoorKing access systems tie into intercom, loop detectors, and telephone entry systems. BFT and FAAC slide operators use industrial capacitors, brake systems, and safety controllers. These systems have documented service procedures for a reason, and every procedure assumes a trained technician with the right gear. When an HOA entry gate starts misbehaving, the DIY path costs more than the professional one every time.
For any of these, our electric gate repair service covers the operator, control board, safety loop, and access hardware together. That’s one visit for the whole system, not three contractors triaging pieces.
What Makes Gate Repair in Santa Maria a Little Different
Santa Maria is on the Central Coast and its climate is mild – no hard freezes and no long stretches of snow or ice. That’s good news for gate hardware, because the seasonal expansion-and-contraction cycle that wrecks gate posts in colder parts of the country isn’t part of the routine here. What does strain gates in Santa Maria is different: dry summer dust and grit getting into tracks and rollers, strong seasonal winds loading the gate panel and working loose the anchors over time, and long sun exposure degrading synthetic components like photo-eye lenses, safety edge rubber, and the low-voltage wire jackets that run to the operator.
Housing matters too. Santa Maria is a mix of older neighborhoods and newer developments, and that mix shows up on the gate side. Older homes often have original manual gates that have been upgraded to automatic with a residential operator, and the operator was sized for a panel that’s a couple of inches wider than the one it’s moving. Newer HOAs and developments run systems with proper access control, intercom, and loop detection, which means the diagnostic work is more involved and brand-specific. Either way, the practical answer is the same: figure out whether the task in front of you is a track clearing or a control board diagnosis, and let that decide who does it.
We’re a gate-only specialist in Santa Maria, not a garage door shop that picks up gates on the side. Every technician, every tool, and every part in the van is dedicated to gates. Our technicians have up to 9 years of experience, and we cover gate repair, electric gate repair, and full gate installation.
Common Mistakes to Avoid
- Following a chain-drive slide gate tutorial on a swing gate operator. The linkage geometry is completely different, and the actuator arm bends before the motor gives up. If your gate has an underground operator, stop following the video.
- Holding a heavy panel by hand “for just a second” while adjusting a hinge. A swinging iron panel can weigh hundreds of pounds and pin someone to the ground without warning. Use a prop or a jack, not a shoulder.
- Splicing a wire instead of using a proper crimp and enclosure. A field splice on an exterior operator looks fine until the first Santa Maria wind season, and then it’s an intermittent fault that takes an hour to find.
- Clearing a loop fault by taping over the detector. Taping over a photo-eye or disabling a loop detector is the single most common DIY risk we see. It disables the exact device that keeps a vehicle from being crushed.
- Buying a replacement part by model number only. Mighty Mule, Elite, and LiftMaster all ship variants under the same model number with different control assemblies. Without a photo and the serial from the housing, it’s a guess.
- Assuming a gate that drags needs a new operator. Nine times out of ten on a slide gate, the drag is in the track or the rollers. Replacing the operator is the expensive way to find that out.
- Ignoring intermittent behavior until it becomes a failure. A gate that “sometimes” reverses will eventually stop reversing. Every intermittent fault gets worse, and every one is cheaper to fix early.
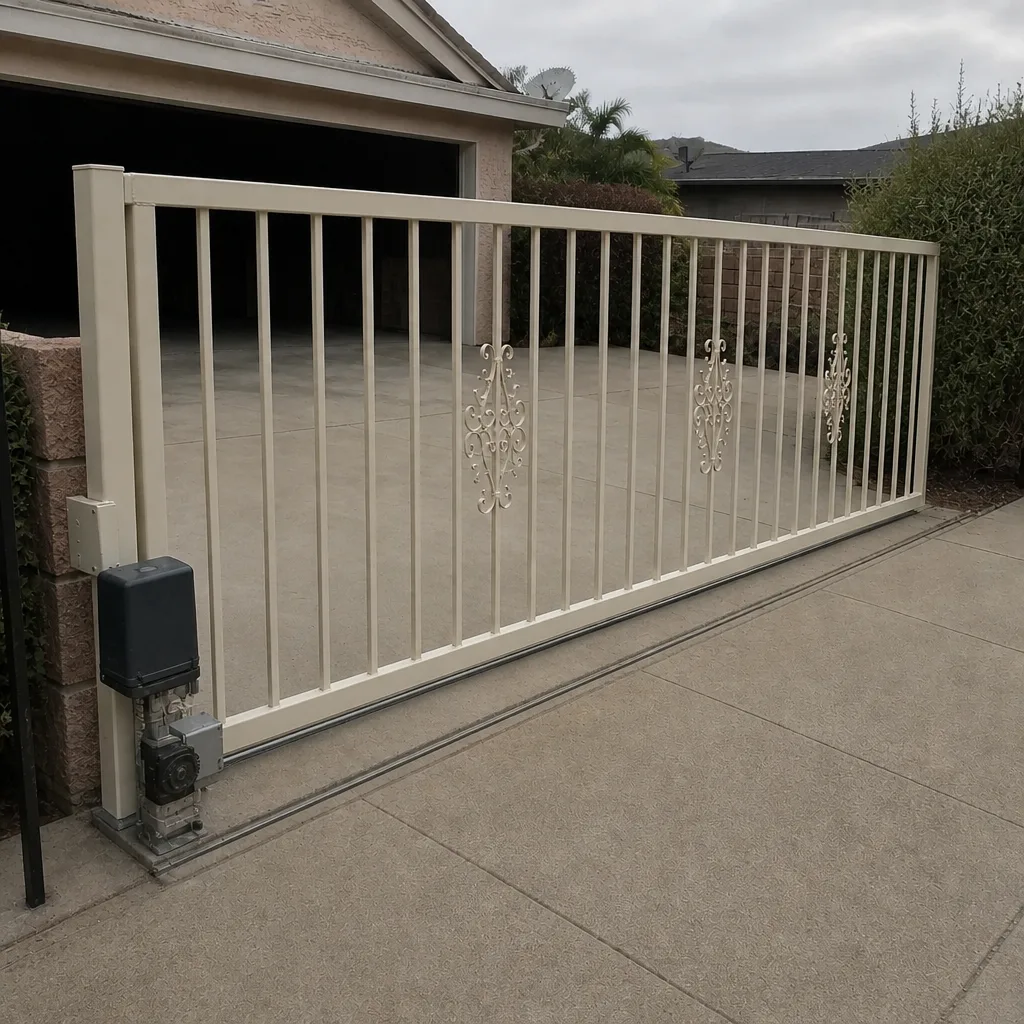
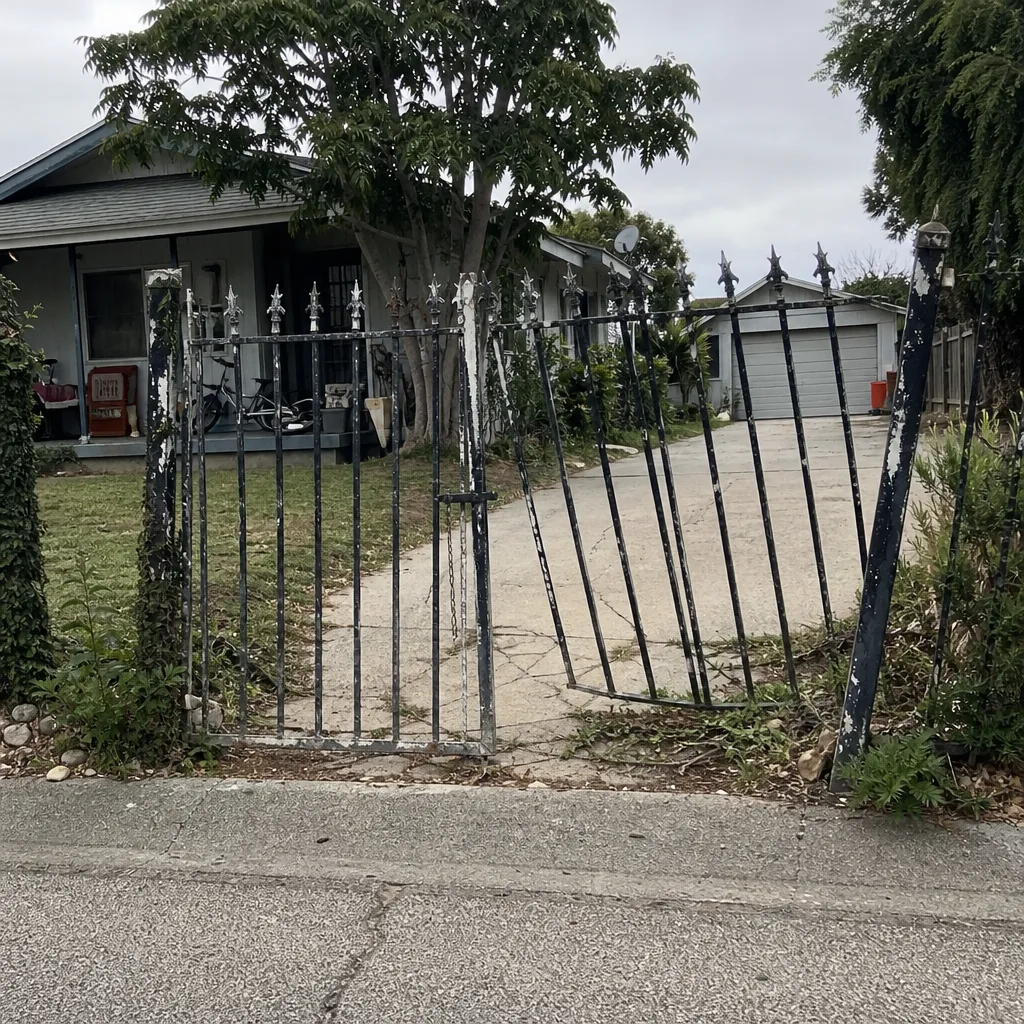
See the difference
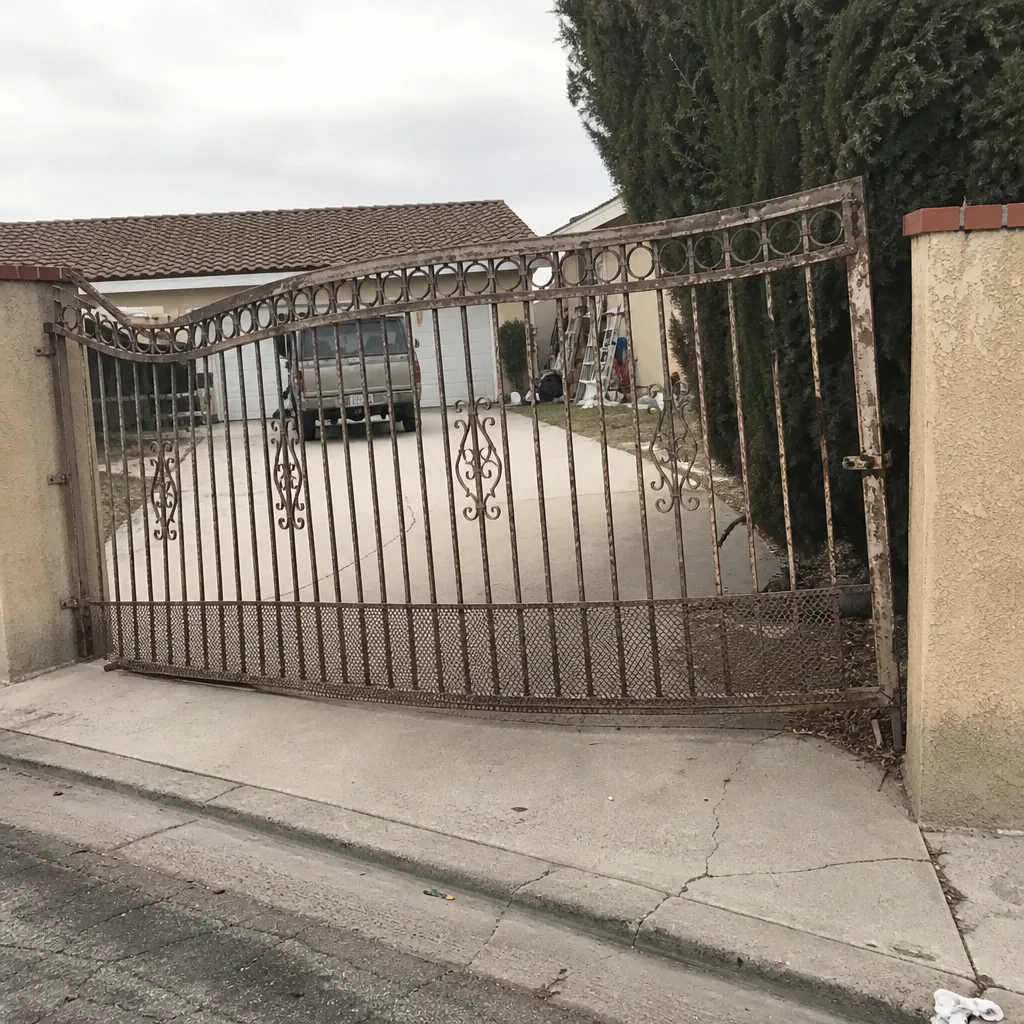 Before
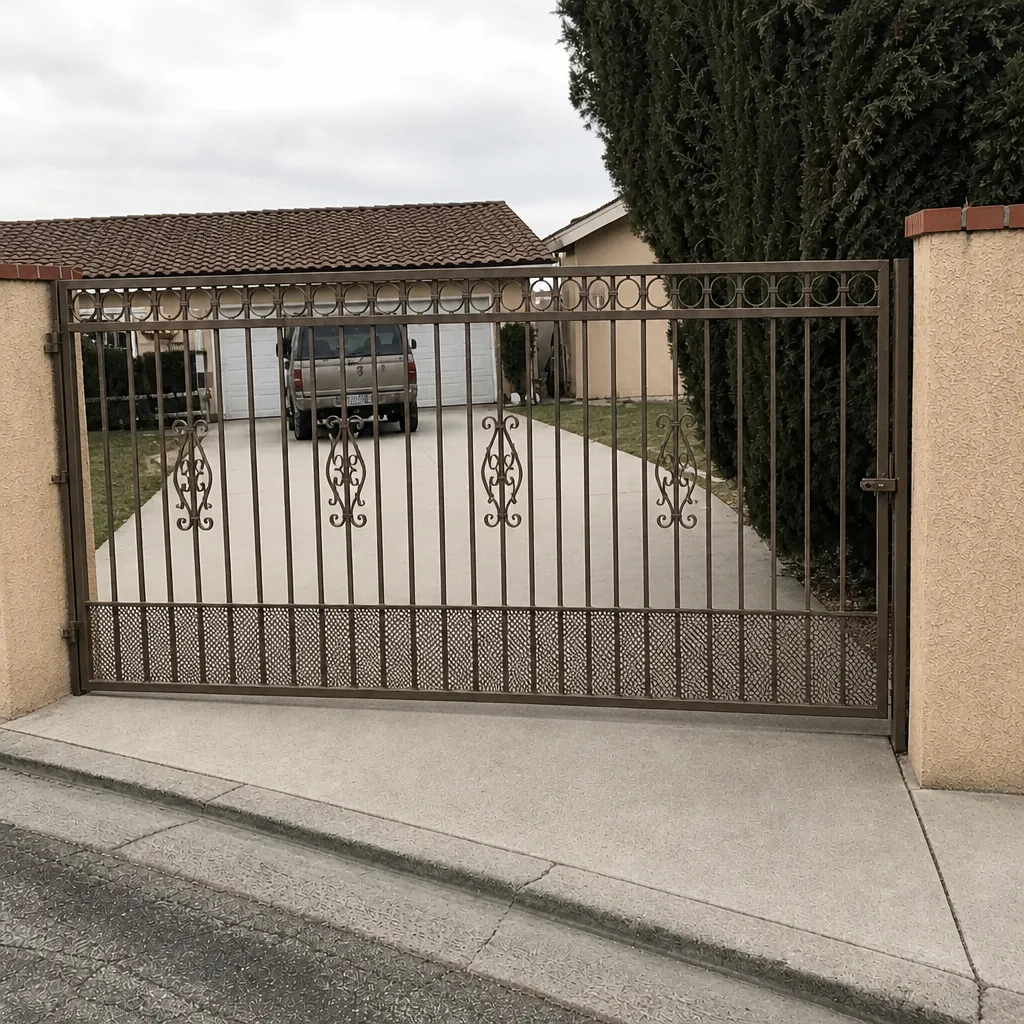 After
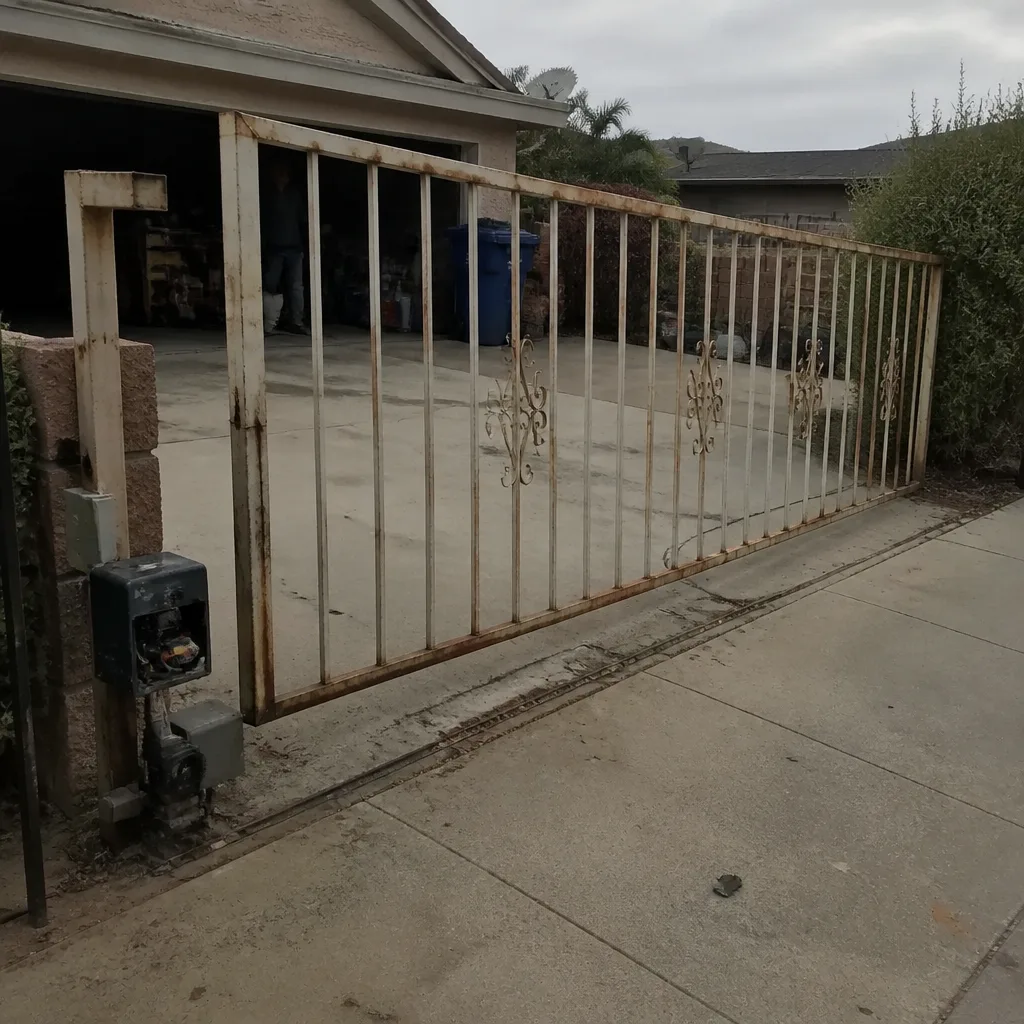 Before
 After
 Before
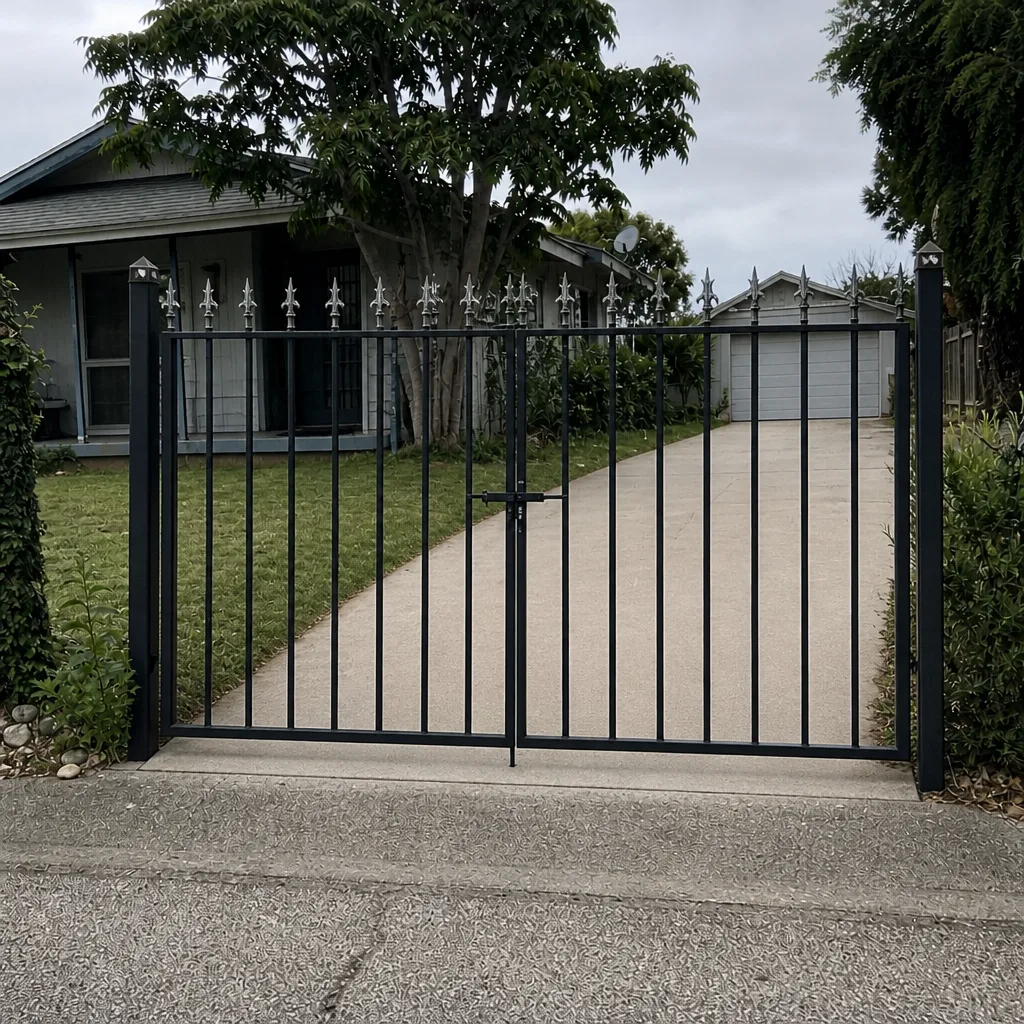 After
When to Call a Professional
Call a professional gate specialist when the repair involves the operator’s electrical system, a heavy swing or slide panel, a safety device, or a post that has moved. Call when the gate reverses or stops mid-travel without an obvious obstruction. Call before you purchase a replacement part, because a $100 wrong part plus a $200 correct part is a $300 lesson. Call when you’re managing an HOA or commercial entry where the gate is the chokepoint for dozens of vehicles, and a wrong repair affects every resident, not just you. Gate Repair Santa Maria offers free estimates in Santa Maria – call (844) 834-0978. We answer 24/7, with fast dispatch from 7am to 7pm, Sunday through Friday.
If you’re not sure which side of the line your job falls on, describe it to us on the phone. We’ll tell you whether it’s a task you can safely handle at home or a repair you should schedule with us. That’s usually the fastest way to get a straight answer, and it saves you from buying parts you don’t need. For a wider look at the whole service, see our main Gate Repair Santa Maria page.
Frequently Asked Questions
It’s safe for a specific subset of tasks: adjusting a latch, clearing a track, tightening visible hinge bolts, changing a remote battery, or resetting a tripped breaker. It is not safe to work on the operator’s electrical system, safety devices, or a heavy swing or slide panel. If the job involves 120V power or lifting, call a technician.
Usually not. Manufacturer warranties on LiftMaster, Elite, and Mighty Mule operators generally cover defects under normal installation and operation, and a repaired or modified component that fails afterward is often excluded. Keep every attempt to the tasks listed as DIY-safe, and leave the operator to a trained technician.
Gate repair pricing varies widely by brand and by what’s failing. A latch adjustment is at the low end; a control board or motor replacement is at the high end. Every estimate is written per job before any work starts, and the written estimate is the final price – no surprises after the gate is fixed. Call (844) 834-0978 for a free estimate.
A gate problem is physical: a track, roller, hinge, or post. An operator problem is electronic or mechanical inside the housing: motor, actuator, control board, safety sensor, or access wiring. The fix is different for each, and guessing wrong is one of the most common sources of wasted DIY spending.
Yes, and it’s the best-value approach in most cases. Do the safe diagnostics, photograph the gate, note the brand, and describe the symptoms before you call. Then let our technicians handle everything that involves the operator, wiring, or a heavy panel. That shortens the visit and keeps the estimate tight.
Most cities require a permit for gate work that touches electrical wiring or the property’s access drive, so ask the Santa Maria building department directly before committing to any electrical gate project. For repairs that don’t run new power or alter the structure, a permit is usually not required, but it’s worth a call to confirm.
The Bottom Line
DIY gate repair is neither a safe “yes” nor a safe “no” across the board – it depends entirely on the task. Clear the track, adjust the latch, change the remote battery, and do your own diagnostic prep. Stop at the operator, the control board, the safety devices, the post anchor, and any panel heavy enough to hurt you. That split protects your warranty, your insurance claim if something goes wrong, and the person standing under the gate when it moves. A gate specialist exists to handle the other half, not to talk you out of the half you can do safely. Call (844) 834-0978 for a free estimate on any gate repair in Santa Maria. We answer 24/7, fast dispatch from 7am to 7pm.
Written by the team at Gate Repair Santa Maria.