
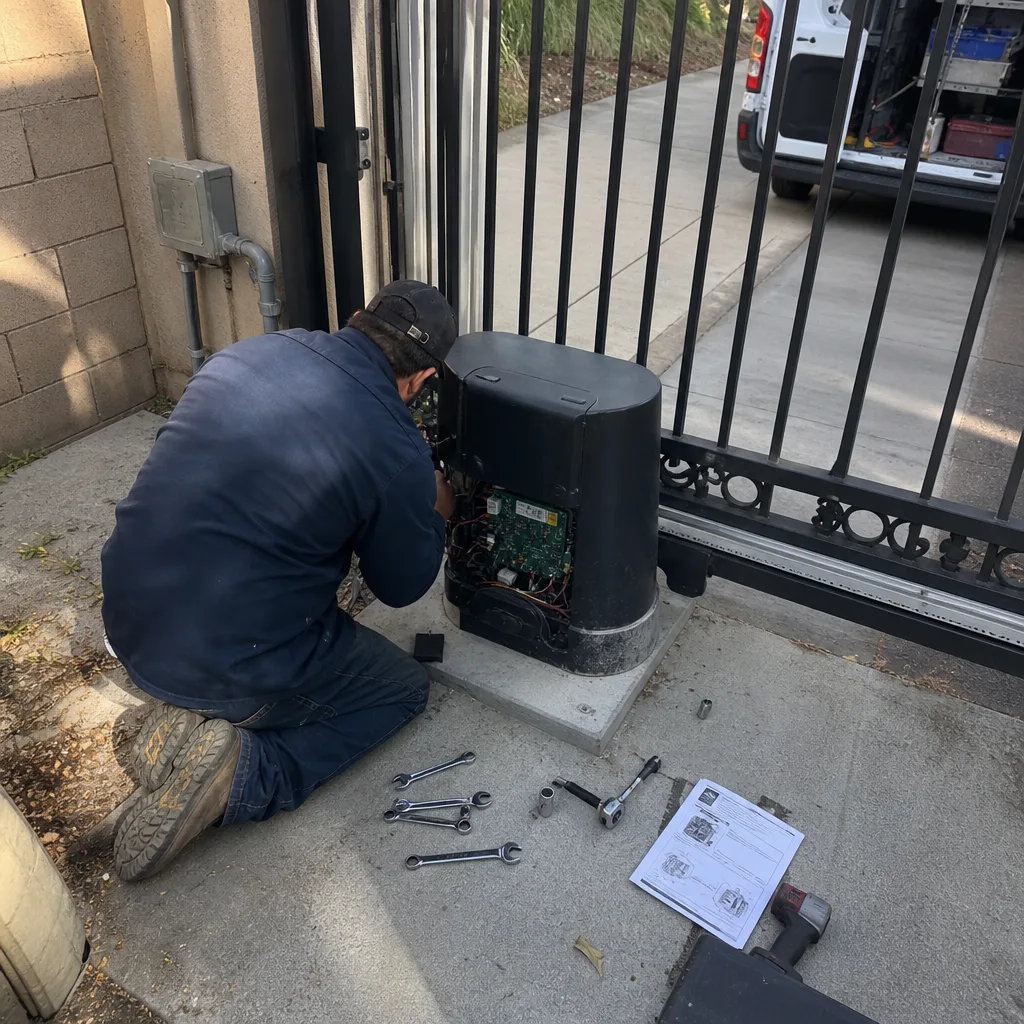
Last updated November 15, 2026
 Wrought iron
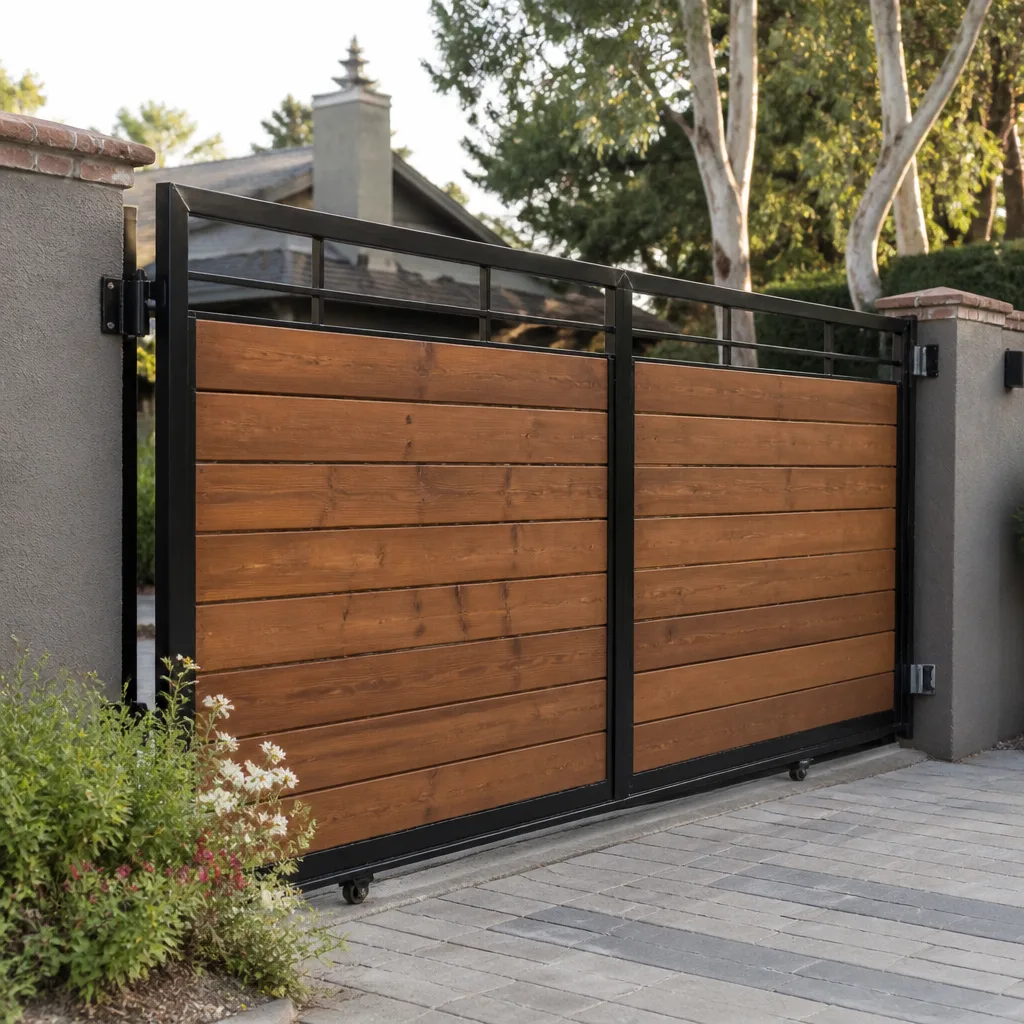 Wood & steel frame
 Farm & ranch
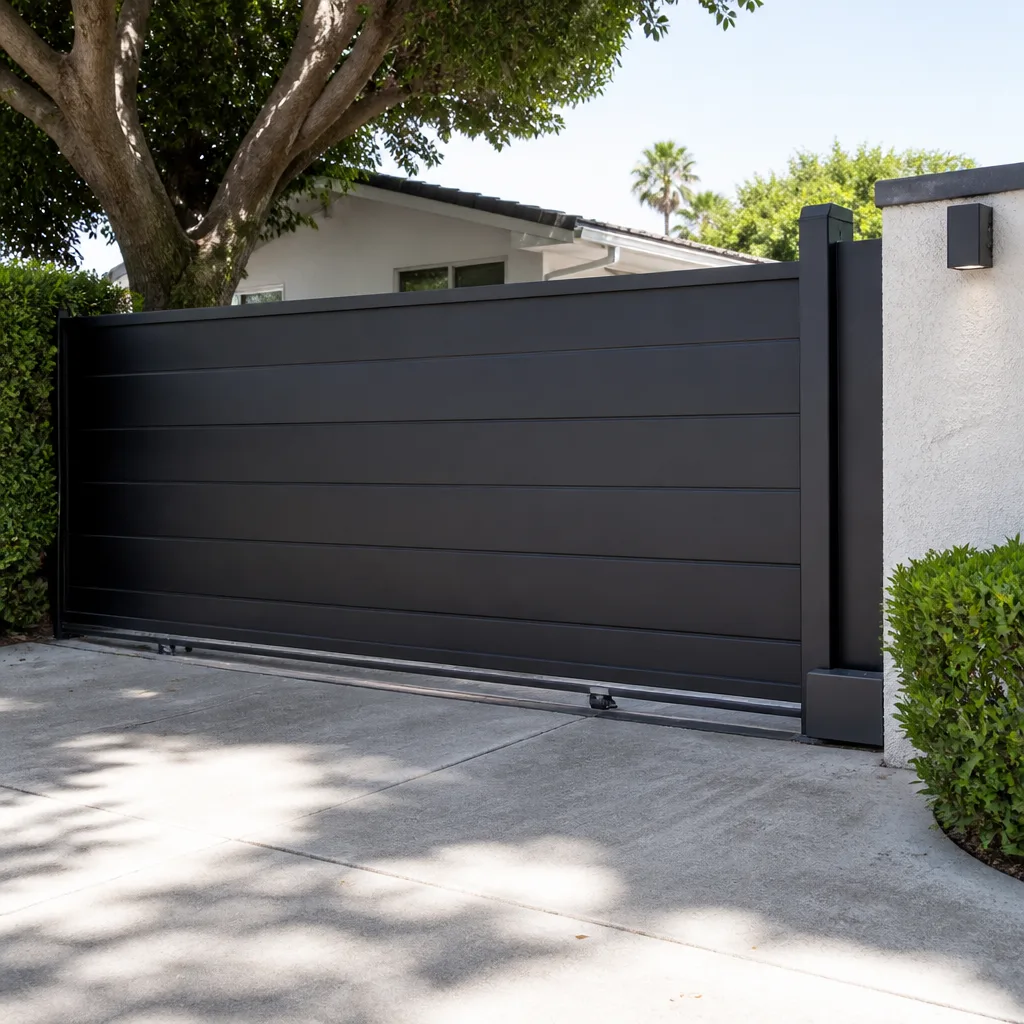 Sliding driveway gates
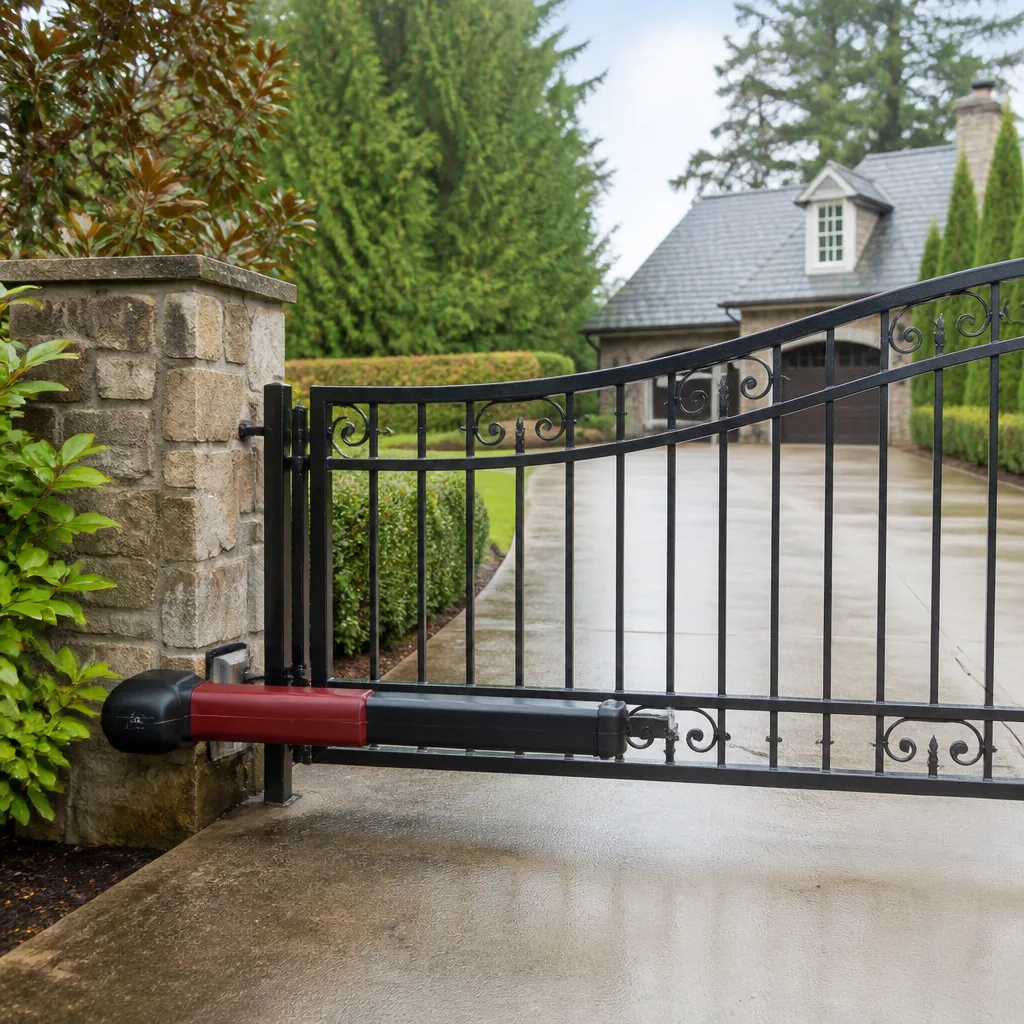 LiftMaster operators
Free on-site gate assessment - hinges, posts, and your LiftMaster or Nice gate operator checked before anything is quoted
The assessment is free and the quote is the invoice.
Get your free estimateGate Repair Maintenance Checklist for Santa Maria Homeowners
Most gate maintenance checklists tell you to “lubricate moving parts.” That advice without specifics is useless, and sometimes it’s worse than doing nothing. Put the wrong lubricant on a rack-and-pinion drive and it turns into a grit magnet; the dust that blows off the surrounding fields and hills binds to the wet film and grinds the pinion down faster than a dry, unlubed drive ever would. Santa Maria’s climate asks for its own checklist, and that’s what this guide is. You’ll learn which lubricants suit which drive types, how to test your limits and safety sensors without special tools, which hardware fails first, and what to log so a technician can spot a trend instead of a surprise.
Quick Answer
A good Santa Maria gate maintenance checklist runs monthly (visual and safety checks, about 15 minutes), quarterly (lubrication, hardware tightening, sensor testing, about 45 minutes), and annually (a full mechanical and electrical inspection, about 2 hours). The tasks differ by gate type: swing gates wear at hinges, closers and hinges pins, while slide gates wear at the track, rollers and rack-and-pinion drive. Most residential gates here need quarterly lubrication and a yearly professional look because the inland heat, dry dust and long sun exposure work on hardware all year.
Styles & brands we work with
- Wrought iron
- Wood & steel frame
- Farm & ranch
- Sliding driveway gates
- LiftMaster operators
Table of Contents
- Why Santa Maria Gates Need Their Own Checklist
- Monthly Tasks: 15 Minutes That Prevent Expensive Repairs
- Quarterly Tasks: Lubrication Done Right
- Swing vs. Slide: Where Each Type Wears First
- Testing Safety Sensors and Limit Switches Without Special Tools
- Annual Tasks and What to Log
- Common Mistakes to Avoid
- When to Call a Professional
Why Santa Maria Gates Need Their Own Checklist
The advice you find online is usually written for a climate with hard freezes and wet summers. Santa Maria isn’t that. Our winters are mild, our summers are dry and bright, and the wind carries fine dust from open ground and agricultural fields for much of the year. That combination changes what actually breaks.
Three local stressors drive most of the wear we see:
- Dry heat and UV. Long sun exposure degrades plastic sensor housings, control-box gaskets and rubber seals. When a gasket fails, dust and moisture get into an operator’s control board, and that’s where erratic behavior starts.
- Airborne grit. Fine dust settles into tracks, rollers and gear racks. Mixed with the wrong lubricant, it becomes an abrasive paste. Left dry, it still causes wear, but slower and more evenly than a gritty slurry.
- Wide day-to-night temperature swings. Metal expands and contracts daily. Bolts on hinge plates and roller brackets loosen over months, and gate sag follows. Checking torque quarterly catches this before a hinge tears out of the post.
None of this means you need to baby your gate. It means the tasks you do should target these specific pressures: seals, grit, fasteners, and lubrication that doesn’t trap dust. A checklist built for snow and salt is a checklist aimed at the wrong problems. If you ever want a trained set of eyes on the whole system, our Gate Repair Santa Maria team works on gates every day and can tell you what shape yours is in.
Monthly Tasks: 15 Minutes That Prevent Expensive Repairs
Monthly checks are visual and hands-on. No tools beyond a flashlight. The goal is to catch changes early, while they’re still adjustments instead of repairs.
- Clear the path. Sweep debris, leaves and dirt from the gate’s travel path and the track on slide gates. A single jammed twig can trip a safety reverse and make the gate look “broken” when it isn’t.
- Watch a full open and close cycle. Stand to the side and watch from open to closed and back. Listen for grinding, scraping or a change in motor pitch. Note any spot where the gate hesitates or lurches.
- Check the safety sensors. Walk through the gate’s closing path while it moves. The gate should reverse immediately. On most systems the photo-eye is a small pair of lenses near the gate; a quick wipe with a soft cloth keeps dust off them.
- Look at the hardware. Glance at hinges, roller brackets, bolts and the arm or operator connection. Look for rust streaks, loose nuts or fresh gaps where metal used to sit flush.
- Test the manual release. On automatic gates, follow the operator manufacturer’s instructions for the manual release and confirm it works. This matters during a power outage.
- Check the control box. Make sure the enclosure is closed, the gasket looks intact and no insects or dust have built up inside.
Write down anything unusual, even small things. A monthly log gives you a record that turns “it’s been acting weird” into “it started hesitating at the halfway point three weeks ago,” which saves diagnostic time for any technician who visits.
Quarterly Tasks: Lubrication Done Right
This is where most checklists go wrong. “Lubricate moving parts” tells you nothing about which product to use, and the wrong one actively causes damage. Here’s the breakdown we use on the gates we service in Santa Maria.
Match the lubricant to the drive type
- Rack-and-pinion slide drives: Use a dry-film or silicone-based lubricant, or a dedicated rack lubricant that dries to a thin film. It protects the teeth without holding grit. Avoid heavy grease here; it catches dust and turns into grinding paste.
- Rollers and track (slide gates): A dry silicone spray on sealed roller bearings where the manufacturer allows it. The track itself usually stays dry. Clean it, don’t grease it.
- Swing gate hinges: A light machine oil or lithium grease on hinge pins works well in our climate, applied sparingly and wiped clean afterward. Excess grease attracts dust.
- Operator arm linkages: Follow the operator manual. Most specify a light grease or none at all; over-lubricating an articulating arm is a common cause of grit buildup.
- What not to use: WD-40 as a long-term lubricant (it’s a solvent, not a lasting film), thick chassis grease on exposed rack teeth, and anything sticky on sensor or limit hardware.
If you’re unsure what brand or model you have, check the operator’s label. Systems from LiftMaster, Elite, DoorKing and Mighty Mule all have distinct lubrication guidance, and the manual is the final word. When in doubt, less is more: a thin, dry film beats a heavy coat every time in a dusty environment.
Quarterly hardware and adjustment checks
- Torque hinge bolts, roller brackets and post bolts to the manufacturer’s spec, or snug them firmly if you don’t have a torque value.
- Spray a dry lubricant on the track and wipe it clean.
- Test both safety sensors (photo-eye and any edge or loop detection) and the manual release again.
- Test the limit switches: confirm the gate stops fully open and fully closed without straining or reversing early.
- Inspect the control-box gasket and wiring entry points for cracking or gaps.
Total time: about 45 minutes for a typical residential gate. If this is more than you want to take on, we handle gate repair across the area, and we can do the check with you and flag anything that needs attention.
Swing vs. Slide: Where Each Type Wears First
Swing and slide gates fail differently. Knowing where your type wears first lets you look in the right places.
Swing gates
- Hinge pins and plates: The top hinge on a heavy gate carries less load than you’d think; the bottom hinge takes the weight and wears first. Sagging is the early sign.
- Operator arm and linkage: The pivot bushings on the arm develop play, and that shows up as a gate that opens slightly unevenly.
- The latch and post: The post takes the daily impact of the gate closing. Loose mounting bolts here lead to misalignment and, eventually, a gate that won’t latch.
- Hinges themselves: Rust streaks at the hinge indicate moisture in the pin. Clean and re-lubricate early.
Slide gates
- The track: Debris is enemy number one. A track that collects grit wears rollers fast. Keep it clean and check that it’s level.
- Rollers and their bearings: Listen for a rumble during travel. A flat spot on a roller means it’s time to replace it before it damages the track.
- The rack-and-pinion drive: The teeth wear where the pinion engages. Dry-film lubrication keeps wear even; grease collects grit and accelerates it.
- Guide rollers and posts: The guide rollers that keep the gate aligned take steady lateral load and loosen over time.
One common local issue: gates mounted on posts set in our dry, sandy soil can shift slightly over years as the ground settles. That’s why the annual check includes a look at plumb and alignment. If your gate has started dragging or binding, our electric gate repair service covers the whole system, mechanical and electrical, including control boards, motors and safety loops.
Testing Safety Sensors and Limit Switches Without Special Tools
Safety sensors and limit switches are the two systems that protect people and equipment, and you can test both with nothing more than your hands and eyes. Here’s how.
Photo-eye and safety sensor test
- With the gate in the open position, start a close cycle.
- Pass your hand, a broom handle or a box through the beam path while the gate is moving.
- The gate should stop and reverse immediately. If it doesn’t, the sensor is misaligned, dirty or failing.
- If it fails, clean the lenses first with a soft dry cloth. Then check that the two lenses face each other squarely. A small knocked-out-of-line lens causes most false failures.
- If it still fails after a clean and re-alignment, stop using the automatic cycle and call a technician. A gate that won’t sense an obstruction is a safety hazard.
Limit switch test
- Run the gate fully open. It should stop cleanly at its open limit without straining or reversing early.
- Run it fully closed. It should land flush and stop, not grind into the post or stop short.
- Listen for the motor to stop at the right moment. A limit switch that’s drifted causes the motor to run briefly after the gate has reached its stop, which strains the drive.
- If the gate overshoots or stops short consistently, the limit setting needs adjustment. On most operators this is a mechanical or digital adjustment described in the manual.
Test these monthly and after any storm or power surge. Important safety note: limit switches and photo-eyes sit near live electrical components on automatic gates. If testing reveals a failure and you’re not comfortable working near the control box, don’t open it. The wiring and power feed are genuinely dangerous, and this is one of those jobs to hand to a trained professional. Call a technician rather than probing inside a live enclosure.
Annual Tasks and What to Log
Once a year, your gate deserves a full inspection: mechanical, electrical and structural. For most homeowners in Santa Maria, this is the visit where a trained technician catches wear you can’t see from the outside.
What the annual check covers
- Full visual inspection of posts, mounting, footings and alignment (plumb and level)
- Motor and drive-train inspection, including bearing play and gear wear
- Control board, wiring connections, battery backup (if fitted) and power supply check
- All safety systems tested to manufacturer spec: photo-eyes, safety edges, loop detectors, obstruction sensing
- Manual release operation under simulated outage conditions
- Lubrication refresh specific to the operator brand and drive type
What to log after every inspection
- Date and which tasks you did (monthly, quarterly, annual)
- What you observed: noises, hesitation points, rust spots, loose hardware, sensor behavior
- What you adjusted or lubricated, and what you didn’t
- Photos, especially of hinge wear, track condition and the control-box interior
- The gate and operator brand/model so future work matches the right parts
That log turns into a maintenance history. When a technician arrives, a record showing “the gate began hesitating at the halfway point, and I noted hinge play last quarter” is far more useful than a general description of weirdness. It’s especially useful for aging operators. If your control board is showing its age, our team can assess repair versus replacement and recommend next steps for a brand you actually own.
Common Mistakes to Avoid
- Using WD-40 as your primary lubricant. It’s a solvent and light oil, not a lasting lubricant. It dries out hinge pins and attracts dust in equal measure.
- Greasing a rack-and-pinion drive. Heavy grease on rack teeth binds grit, and grit grinds. A dry film keeps the teeth protected without the grit problem.
- Ignoring the track because the gate “still works.” Slides need the track swept monthly; debris is the top cause of roller and track wear in this area. A clean track is cheaper than new rollers.
- Skipping the safety sensor test because it takes a minute. A misaligned photo-eye can cause the gate to run past an obstruction. Test monthly and after any power event.
- Over-tightening hinge and roller bolts after a small rattle. Over-torque strips threads and distorts brackets, and it makes the next adjustment harder. Snug is enough; the manufacturer’s spec is best.
- Never checking the control-box gasket. In dusty, dry conditions it’s the first defense for the electronics, and a cracked gasket lets grit and moisture in where they cause the most expensive damage.
- No log at all. Without a record, you can’t tell whether a problem is new or has been developing for months, and both you and your technician lose time guessing.
Working with a specialist also matters here. A genuine gate specialist, not a general handyman, knows the difference between an operator problem and a mechanical one on sight. Our Santa Maria team works gates exclusively, so the diagnosis is faster and the fix matches what’s actually wrong.
When to Call a Professional
Call a professional when you notice any of the following:
- The gate won’t reverse when an obstruction is in its path, even after cleaning the sensors
- The operator runs but the gate doesn’t move, or moves slowly and unevenly
- Grinding, scraping or rumbling from the motor, rollers or rack that doesn’t resolve with cleaning and lubrication
- Burning smells, tripped breakers or visible damage at the control box or wiring
- The gate is sagging, dragging or binding, or the posts look loose
- Your limit switches keep drifting, or the gate stops in the wrong spot
- Repeated calls after a repair (the fix isn’t holding, and that’s a symptom of its own)
Some of these are mechanical fixes you might handle with the right parts. But anything involving the control board, the power feed, the motor or the safety loops should involve a trained technician; those components are dangerous, and a proper diagnosis saves money over trial and error. Gate Repair Santa Maria offers free estimates in Santa Maria. Call (844) 834-0978. We answer 24/7. Fast dispatch from 7am to 7pm, Sunday through Friday.
See the difference
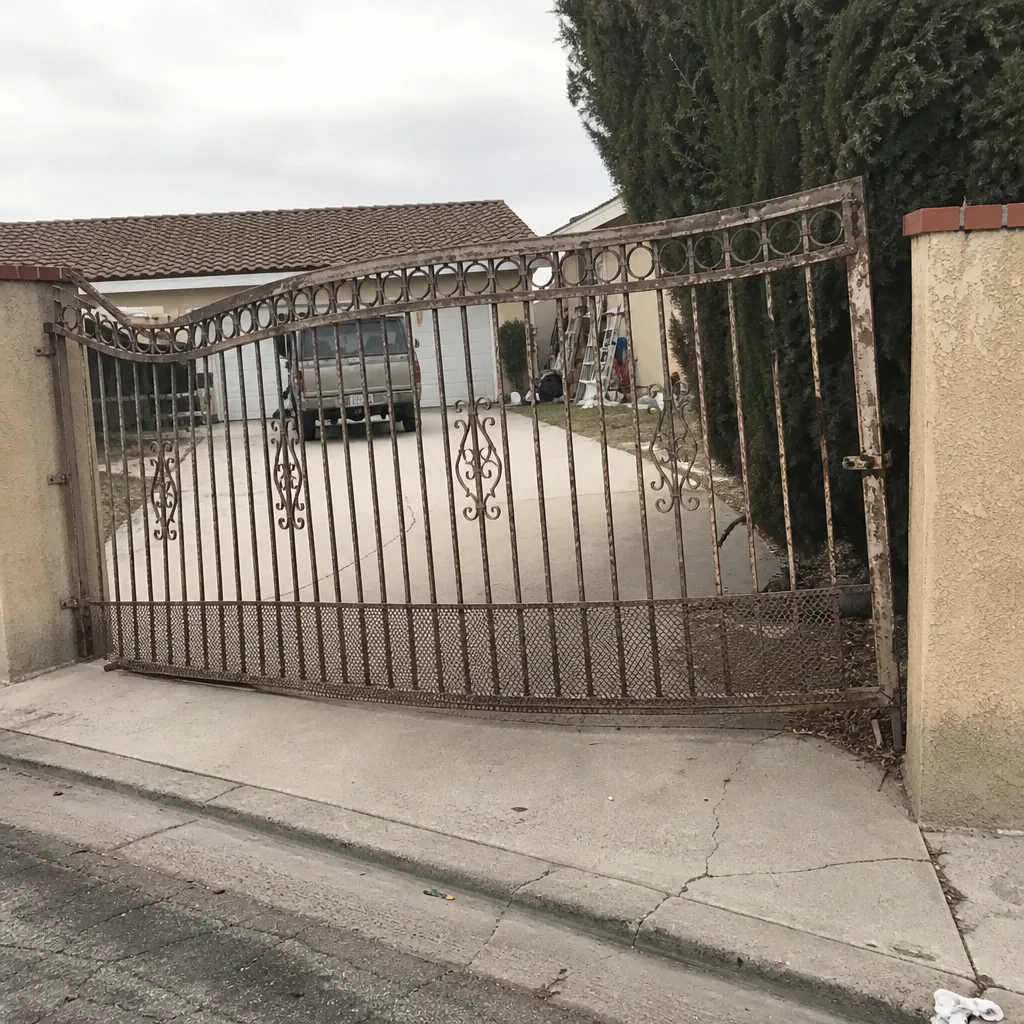 Before
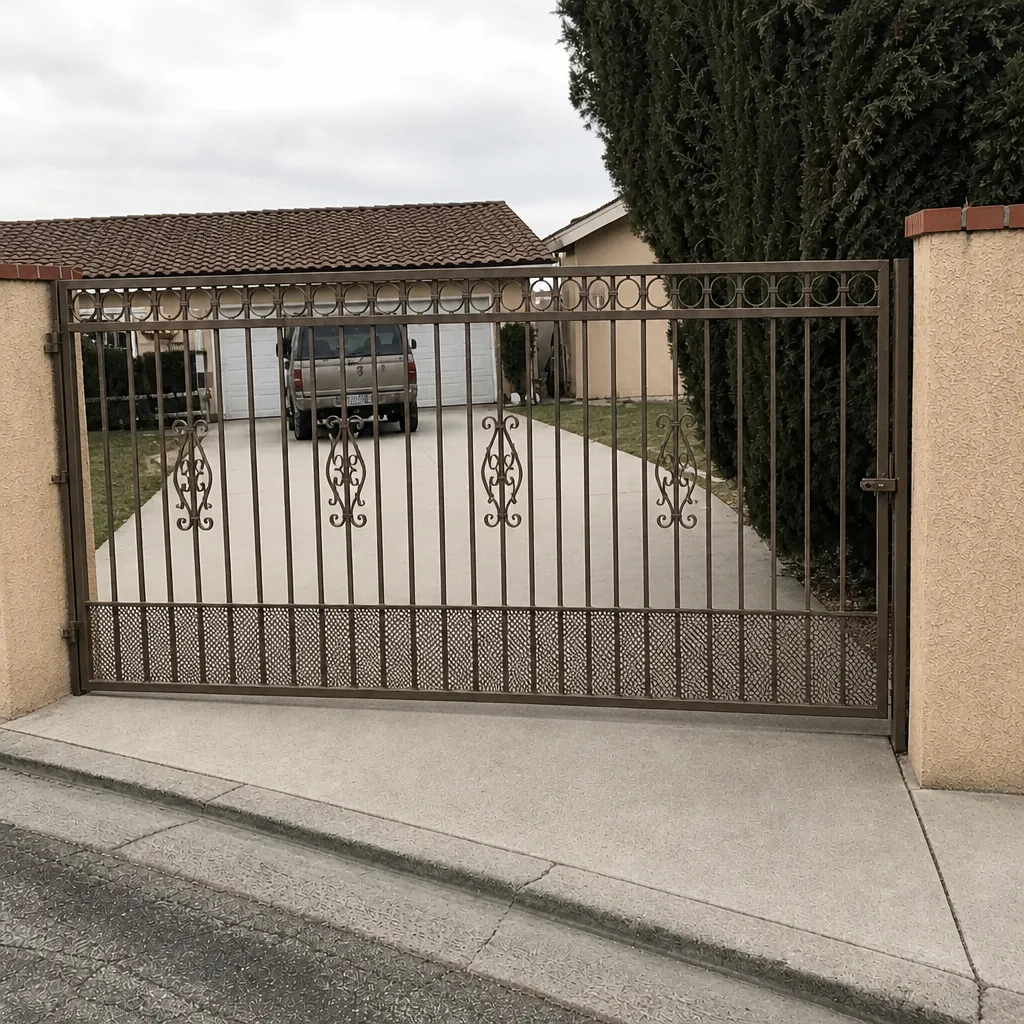 After
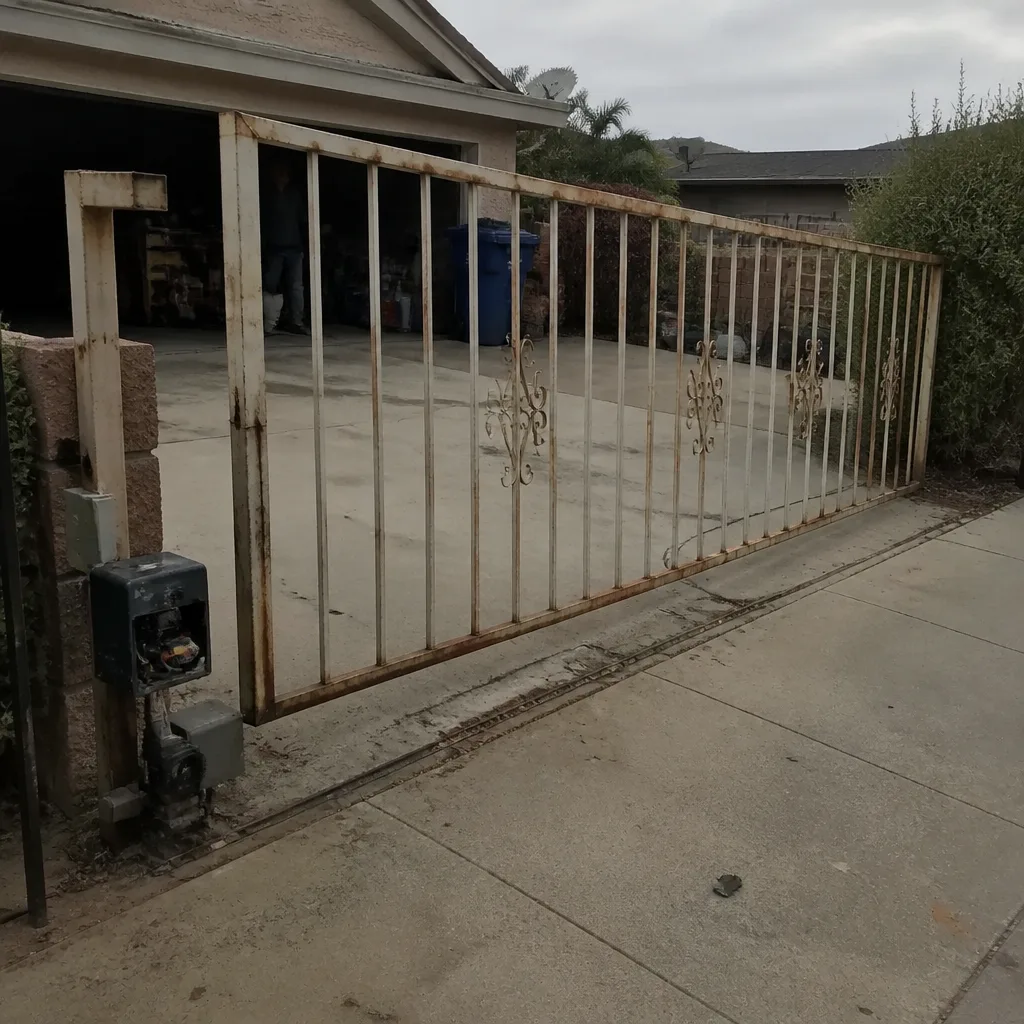 Before
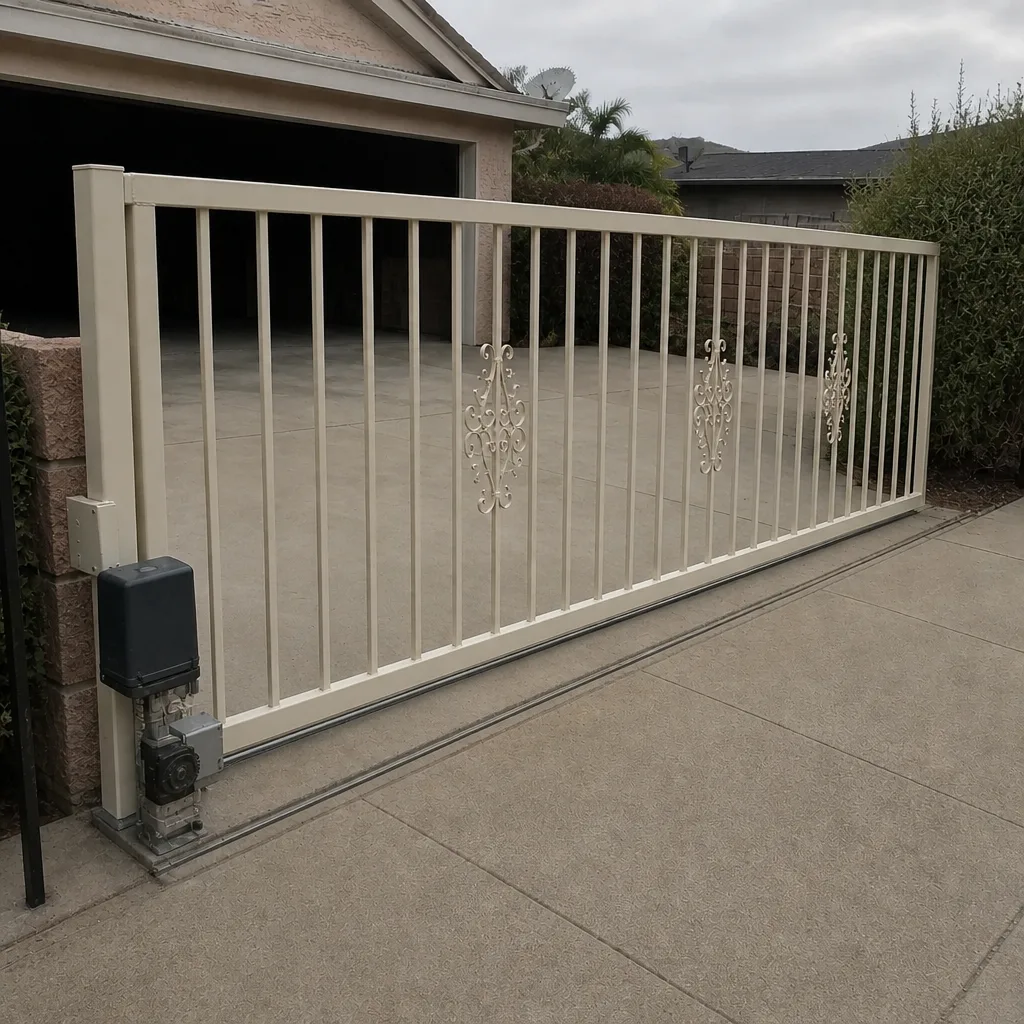 After
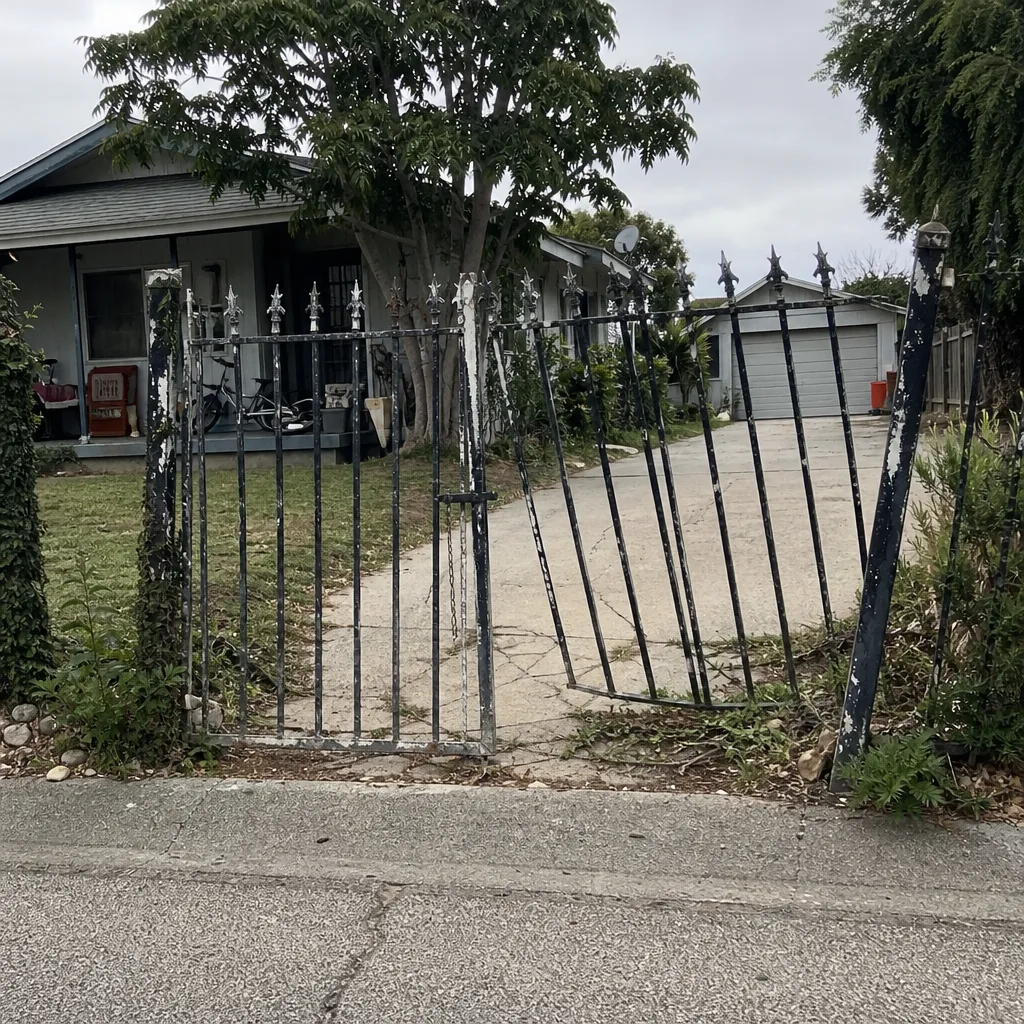 Before
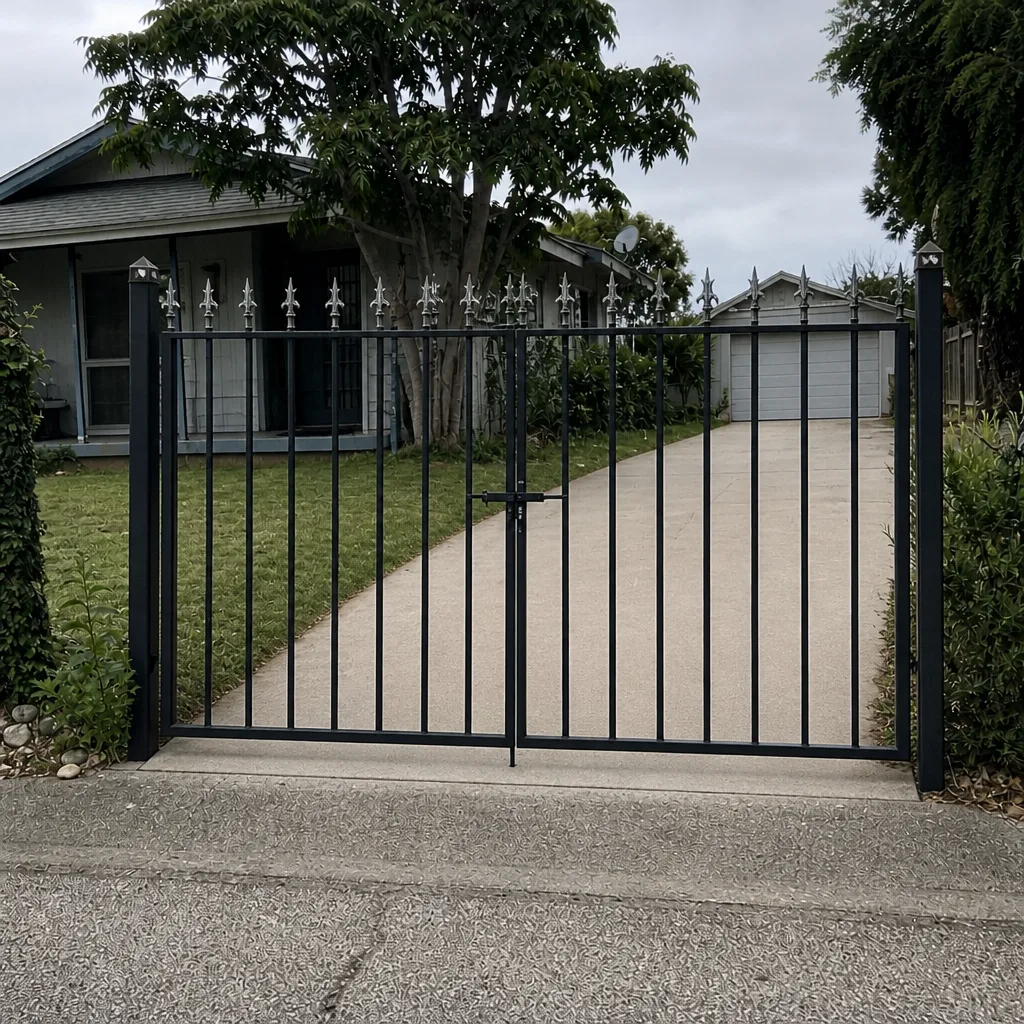 After
Frequently Asked Questions
Monthly visual and safety checks, quarterly cleaning and lubrication, and a professional inspection once a year. Our inland climate, dry air, dust and long sun exposure mean hardware and seals age steadily all year, which is why a yearly mechanical and electrical look matters more here than in a wetter climate.
A dry-film or silicone-based lubricant, or a rack-specific product that dries to a thin film, is best for rack-and-pinion drives. Avoid heavy grease: in dusty conditions it catches grit and accelerates wear on the teeth and pinion. If you’re not sure which is right for your operator, check the manual or ask us.
Yes. Start a close cycle and pass your hand or a broom handle through the beam path; the gate should reverse immediately. Clean the lenses and confirm they face each other squarely. If it still fails, stop using the automatic cycle and call a technician, because a gate that doesn’t sense obstructions is a safety hazard.
Yes. We handle repair, electric upgrades and new installation for homeowners and commercial properties across Santa Maria. We’re a single-trade gate specialist and work on nine operator brands, including LiftMaster, Elite and Mighty Mule. Call (844) 834-0978 for a free estimate. We answer 24/7. Fast dispatch from 7am to 7pm, Sunday through Friday.
An automatic gate that operates unpredictably usually has a sensor, limit switch or control-board issue, sometimes a misaligned photo-eye or an interference from a loop detector. These can be tricky to diagnose without the right tools, and it’s worth a professional visit to trace the cause properly. Call (844) 834-0978 to schedule a free estimate.
It depends on what’s failing. A worn motor, control board or set of rollers is usually repairable. A gate whose frame has rusted through, or posts that have shifted beyond adjustment, often aren’t worth patching. A technician can assess both and give you a written estimate before anything is decided. Call (844) 834-0978 and we’ll look at it with you.
Yes. We service both residential and commercial gate systems, including control boards, loop detectors, intercom wiring and motor replacement. Commercial-grade brands like DoorKing, FAAC and BFT are among the systems we work on. Call (844) 834-0978 for a free estimate on commercial work.
The Bottom Line
Gate maintenance in Santa Maria isn’t about following a generic checklist. It’s about targeting what actually wears: dry dust in moving parts, UV damage to seals and gaskets, daily temperature swings that loosen hardware, and posts settling in dry soil. Match your lubricant to your drive type, test your safety sensors and limits monthly, and keep a written log so problems surface early as trends instead of sudden failures. Handle the monthly and quarterly tasks yourself if you’re comfortable, and book a professional inspection once a year. When something needs more than a checkup, a certified, specialist gate technician is faster and safer than a general handyman. Written by the team at Gate Repair Santa Maria.
Written by the team at Gate Repair Santa Maria.